Windows 11 화면에 시계를 표시하는 방법

Windows 11에서는 작업 표시줄에 시계를 표시하는 것 외에도 컴퓨터 화면에도 시계를 표시하도록 설정할 수 있습니다.
While the built-in camera on your Mac can be a handy tool for video conferencing or taking quick snapshots, there may be times when you want to disable it.
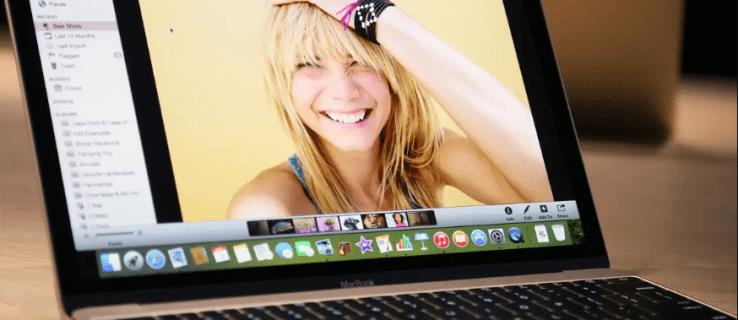
This article will show you how to disable the camera on your Mac to deny apps or intruders unauthorized access.
Disabling the Camera on a Mac
The iSight camera is a built-in webcam found on Apple’s line of MacBook laptops. Apple says the camera “brings photos and videos to life.” It can be used with many apps, including FaceTime, Skype, and Google Hangouts.
For professionals, the camera can be used for videoconferencing and online meetings. For everyday users, the camera can take pictures and videos of special moments, such as vacations or birthdays. It can also be used for video chatting with friends and family who live far away.
For all its positives, there are several reasons why you might want to disable it. For example, the camera can be a security risk, as it can be used to spy on users without their knowledge.
Additionally, the camera can be a drain on battery life, and it can also slow down the performance of a computer.
Finally, if you’re like some people, you may feel a bit uncomfortable at the thought that your camera is monitoring your activities, even if you’re not using it at a given moment.
Fortunately, disabling the camera on your Mac is relatively straightforward. Let’s see the tools you can use to do this.
System Preferences
System Preferences is a system panel included with the macOS operating system that provides a graphical interface to access and modify many of the macOS’s settings. These settings include the ability to change the appearance of the desktop, set up network and security options, and manage user accounts.
While many of these items can also be accessed and changed through other parts of the macOS, such as the Finder or Safari, System Preferences provides a central location for all settings.
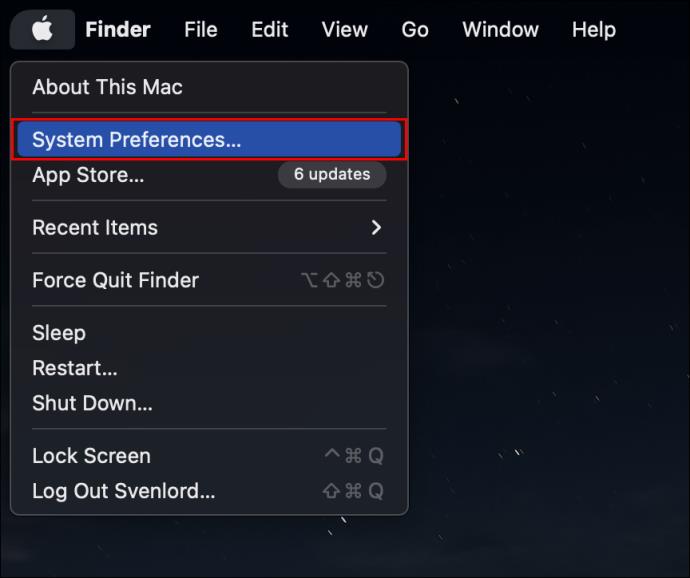
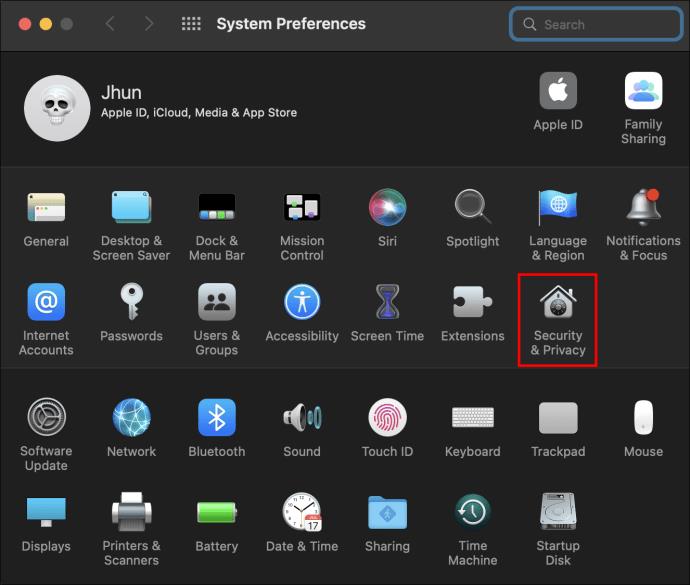
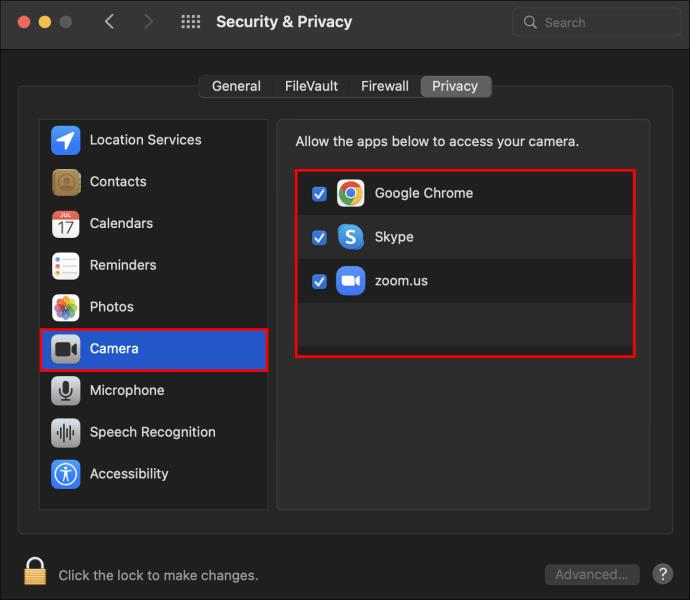
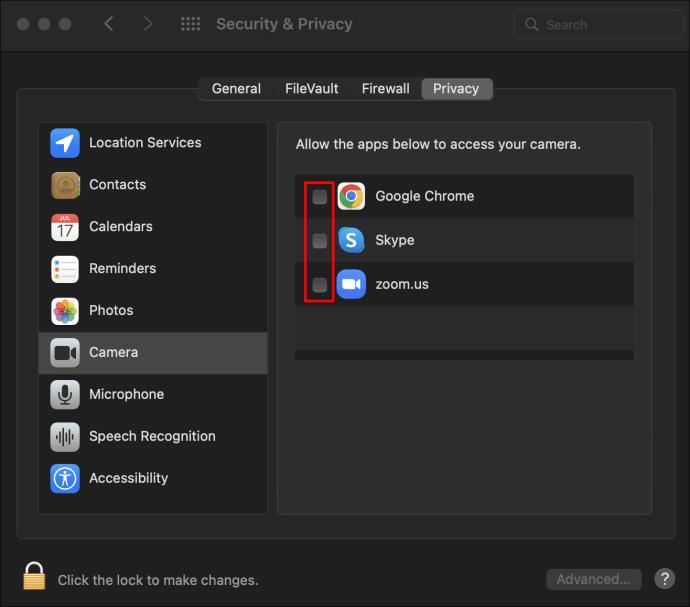
Here’s how you can disable the camera on your Mac using System Preferences:
Safari-Based Camera Controls
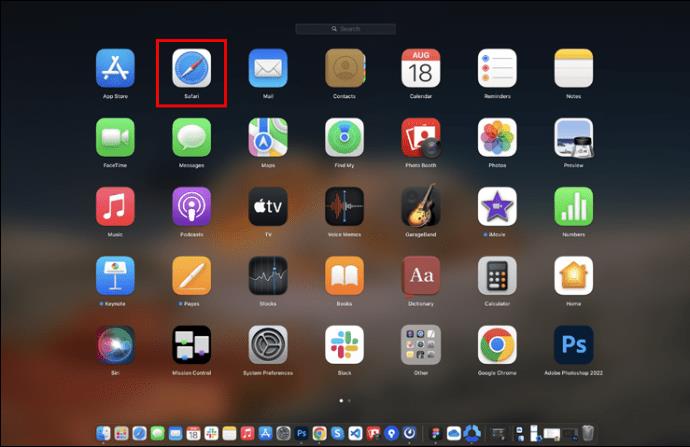
Safari, the web browser that comes pre-installed on all Mac computers, has advanced security and privacy settings that make it easy to control the websites that can access your camera. With Safari, you can allow or block access to your camera for all websites or specific ones.
Here’s how;

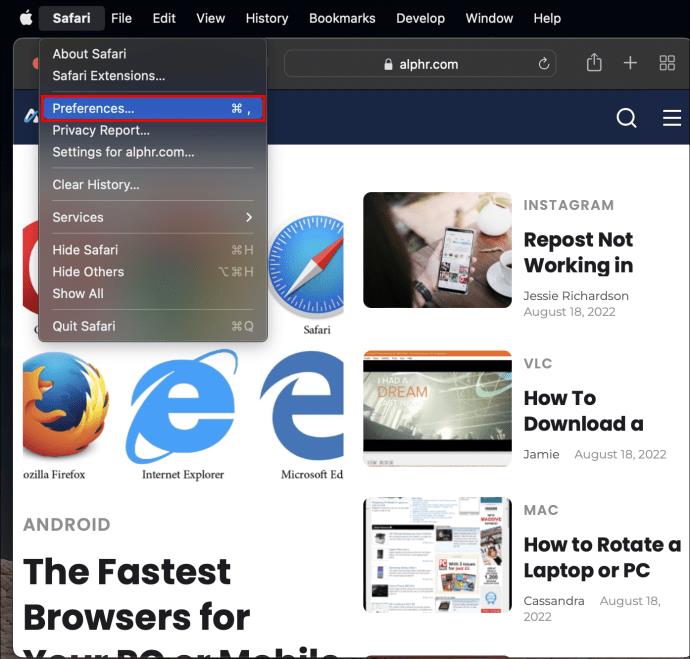
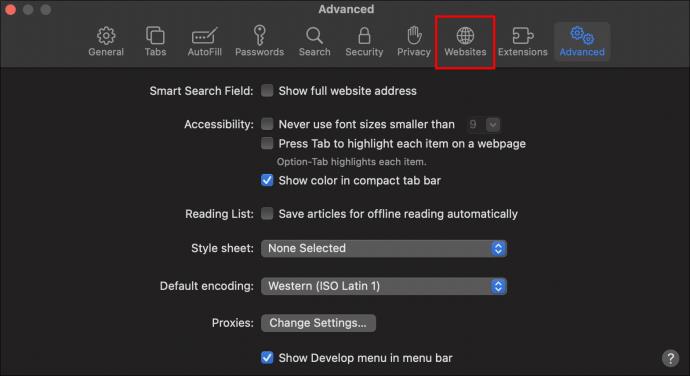
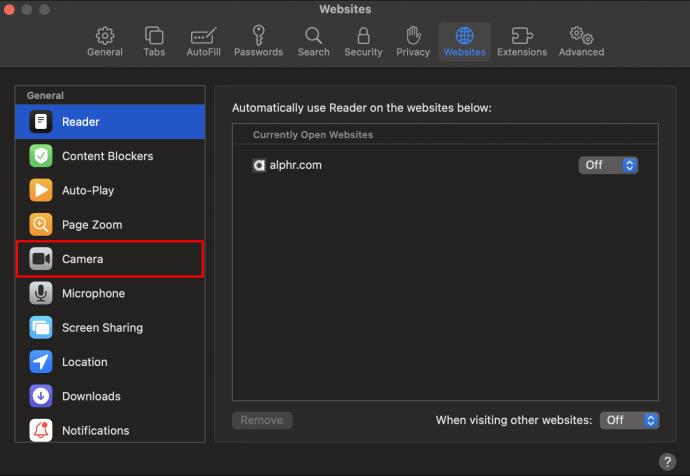
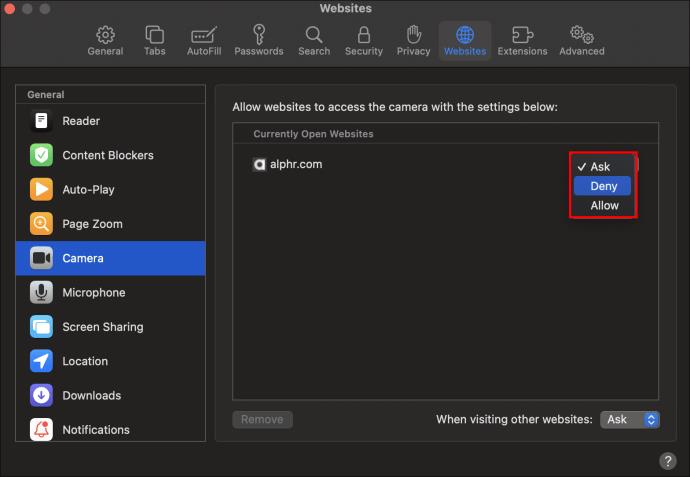
If you choose the Deny option, the corresponding website will not be able to access the Camera on your Mac. If you choose the Ask option, the website will prompt you to allow or deny access to your Camera whenever the camera is needed.
Parental Controls
Mac computers come with a built-in set of Parental Controls that allow you to restrict access to certain websites, applications, and system features. Crucially, these controls enable you to disable camera access on some user accounts while allowing other accounts to use it without any restrictions.
To restrict access to your camera using Parental controls:

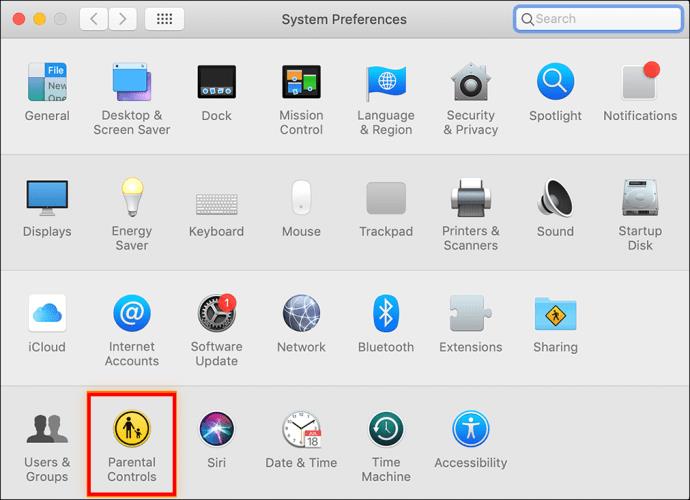
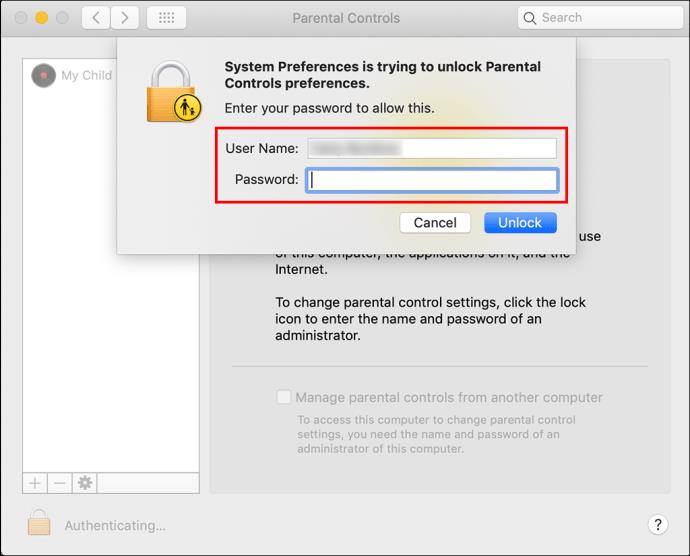
This will stop all applications from using the camera whenever the user account selected is in use.
Third-Party Tools
If you don’t trust the local tools to offer reliable protection against access to your camera, you might want to try third-party programs. In this regard, the Camera Blocker app would be a great tool.
The app is very easy to use, and it provides a high level of security. Once installed, the app automatically blocks the camera as soon you turn on your Mac. You can also set the app to alert you if someone tries to access the camera.
Keep Unauthorized Access at Bay
Whether you’re concerned about privacy or just want to save battery life, turning off your MacBook’s built-in camera is straightforward. It will prevent apps from accessing your camera and make it impossible for someone to activate it remotely.
What’s your experience with Mac cameras? Do you find any of the tools discussed in this article useful? Let us know in the comments section below.
Windows 11에서는 작업 표시줄에 시계를 표시하는 것 외에도 컴퓨터 화면에도 시계를 표시하도록 설정할 수 있습니다.
시스템이 부팅되지 않는데 마더보드에 빨간 불이 켜지는 걸 보면 무섭습니다. 특히 마더보드에서 불이 켜진 이유를 알려주지 않는다면 더욱 그렇습니다.
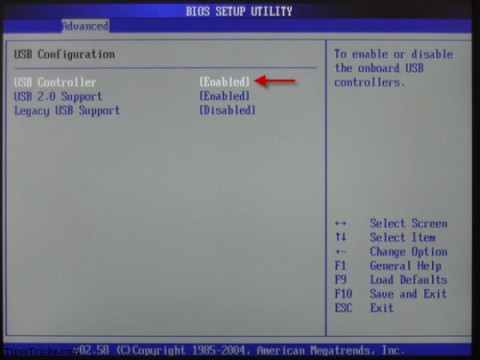
BIOS에서 USB 포트 잠금을 해제하는 것은 어렵지 않습니다. 하지만 컴퓨터 USB 포트를 잠그는 방법은 무엇일까요? Quantrimang.com에서 확인해 보세요!
잘못된 시스템 구성 정보는 Windows 10 시스템에서 흔히 발생하는 버그 확인 오류입니다. 이 문제를 해결하는 몇 가지 해결책을 살펴보겠습니다.
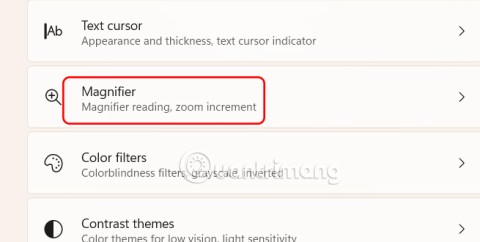
Windows 11의 돋보기 반전 기능을 사용하면 특히 빛에 민감한 사용자의 경우 텍스트의 가독성을 향상시킬 수 있습니다.
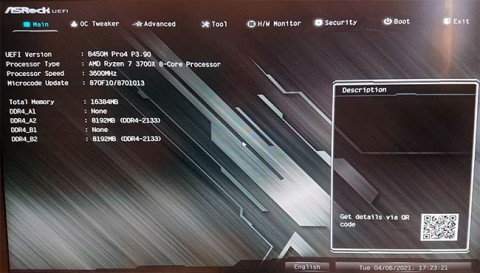
직접 PC 시스템을 조립하고 고속 RAM에 투자하기로 했다면, RAM이 광고된 속도로 작동할 수 있는지 어떻게 확인할 수 있을까요?
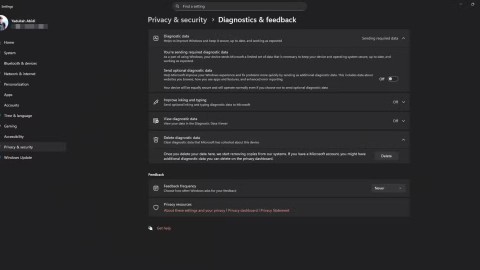
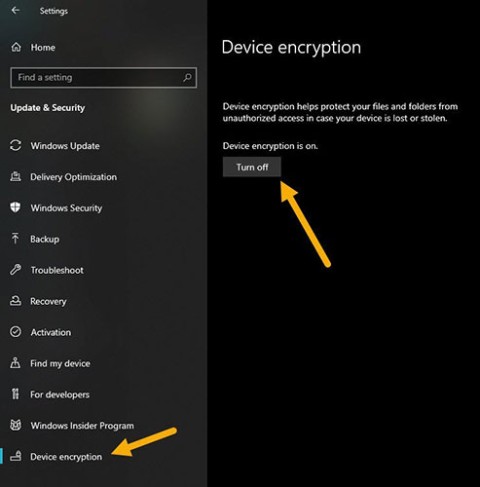
Windows에는 기본적으로 보안이 설정되어 있지 않으므로, 일부 기본 설정을 변경해야 합니다.
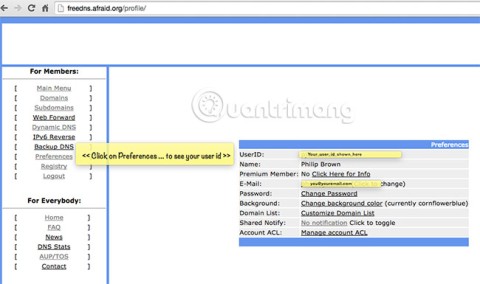
동적 DNS(DDNS 또는 DynDNS라고도 함)는 인터넷 도메인 이름을 동적 IP 주소를 사용하는 컴퓨터에 매핑하는 서비스입니다. 대부분의 컴퓨터는 DHCP를 통해 라우터에 연결되는데, 이는 라우터가 컴퓨터에 IP 주소를 무작위로 할당한다는 것을 의미합니다.
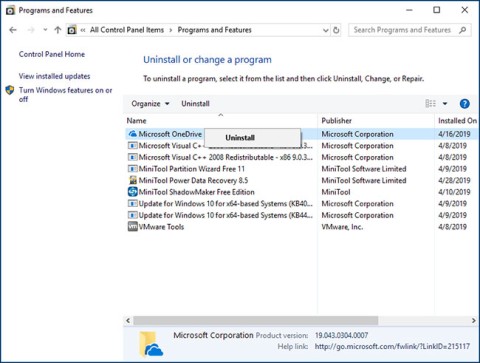
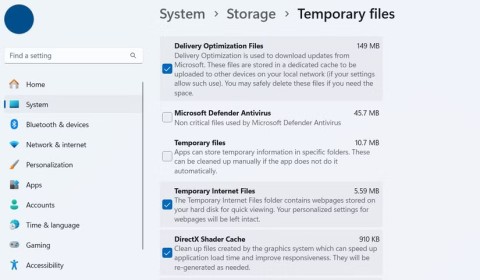
임시 파일, 오래된 백업, 중복 데이터, 사용하지 않는 앱 등 개인 파일을 건드리지 않고도 공간을 확보할 수 있는 방법은 많습니다.
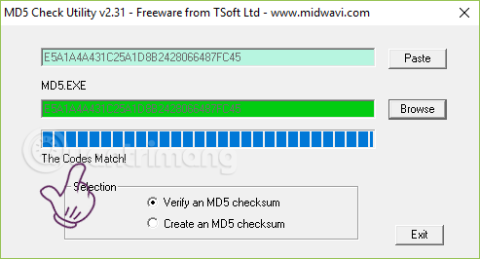
특수 프로그램을 사용하여 파일의 MD5 및 SHA1 코드를 검사하여 파일에 오류가 있는지 확인해 보겠습니다. MD5 검사 소프트웨어인 HashCalc는 MD5 및 SHA1 코드를 검사하는 데 매우 유용한 도구 중 하나입니다.
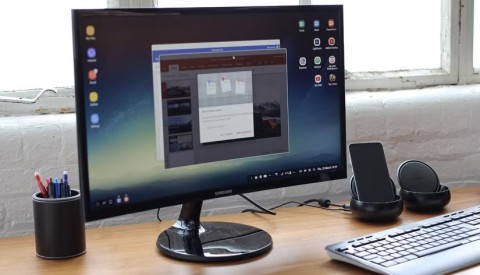
모니터라고 하면 PC나 노트북에 연결된 모니터를 떠올리실 수 있습니다. 하지만 실제로 모니터는 다른 여러 기기와도 호환될 수 있습니다.
파일 탐색기에서 드라이브에 자물쇠 아이콘이 있는 이유가 궁금하신가요? 이 글에서는 자물쇠 아이콘의 의미와 Windows 10에서 드라이브의 자물쇠 아이콘을 제거하는 방법을 설명합니다.
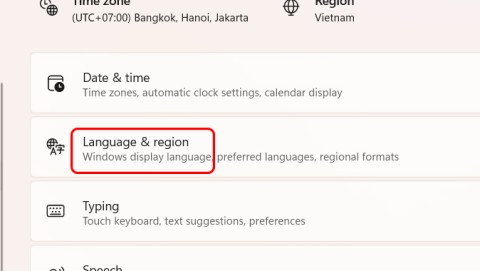
숫자 서식은 숫자가 표시되는 방식을 결정하며, 여기에는 소수점 구분 기호(마침표나 쉼표 등)와 천 단위 구분 기호 선택이 포함됩니다. Windows 11에서 숫자 서식을 변경하는 방법은 다음과 같습니다.
누군가가 허가 없이 귀하의 컴퓨터에 접근하여 사용하고 있다고 의심되는 경우, 아래의 몇 가지 요령을 적용하여 컴퓨터의 켜짐/꺼짐 기록을 확인하고, 컴퓨터에서 최근 활동을 보고 이를 확인하고 재확인할 수 있습니다.
USB 장치는 일상생활에 없어서는 안 될 필수품이 되었으며, 이를 통해 다양한 필수 하드웨어를 PC에 연결할 수 있습니다.

